











How Is Epoxy Resin Art Made? Step-by-Step Process Explained
Epoxy resin art looks simple when you see the finished product, but creating a clean and durable piece requires careful preparation. The exact process varies according to the product, mould and design, but the general workflow remains similar.
Step 1: Prepare the workspace
The workspace should be clean, level and suitable for resin work. Dust and moisture can affect the final finish, so preparation is important.
Step 2: Select the mould or base
Depending on the product, a silicone mould, wooden base, MDF surface or another suitable material may be used.
Step 3: Measure resin and hardener
Epoxy resin normally requires resin and hardener to be combined according to the manufacturer's specified ratio. Accurate measurement is important for proper curing.
Step 4: Mix carefully
The components are mixed slowly and thoroughly. Excessive mixing can introduce unnecessary air bubbles.
Step 5: Add colours and decorative elements
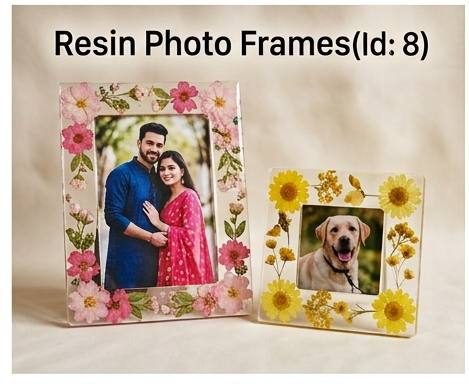
Pigments, mica powders, glitter, dried flowers, photographs and other suitable decorative elements can be incorporated depending on the design.
Step 6: Pour and create the design
The resin is poured carefully and manipulated to create the desired pattern.
Step 7: Allow it to cure
The piece must remain undisturbed for the recommended curing period. Temperature and humidity can influence curing.
Step 8: Finish the product
Once cured, the product may require trimming, sanding, polishing or other finishing work.
Because resin involves chemicals and controlled curing, it is best to follow the manufacturer's safety and handling instructions rather than treating it like ordinary craft glue.